
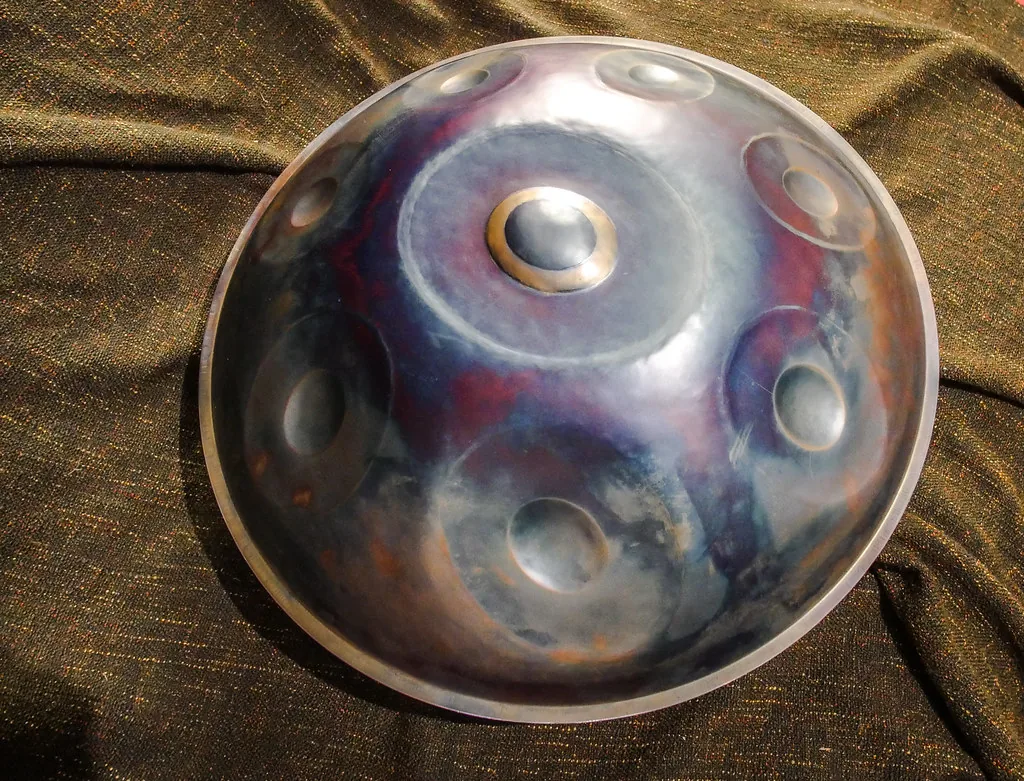
The handpan is a melodic percussion instrument known for its mesmerizing, soothing sounds. Its unique shape and harmonious notes make it popular with amateurs and professionals alike.
This home manufacturing project may seem complex, but with patience and precision, it becomes achievable. The use of high-quality steel is essential for obtaining a pure, long-lasting sound.
Inspired by PANart’s Hang®, the modern handpan incorporates technical innovations while retaining its artisanal essence. This guide will help you understand the key steps and assess the time and skills required to complete this project successfully.
Introduction to the handpan: a unique instrument
With its steel shells and harmonious notes, the handpan offers a unique musical experience. This instrument, inspired by the Hang® created by PANart in 2000, quickly gained popularity thanks to its soothing resonance and distinctive shape.
The handpan consists of two convex shells made of nitrided or stainless steel, joined to create a resonant cavity. This structure produces the rich, harmonious sounds characteristic of this unique instrument. Its standard diameter ranges from 45 to 60 cm, making it portable and ergonomic for all musicians.
Compared with other idiophones, such as the steelpan or gong, the handpan stands out for its ability to produce complex melodies while remaining accessible to beginners. The quality of its harmonics and its sound dynamics are essential for ensuring optimal resonance.
Renowned makers such as Ayasa Instruments have contributed to the evolution of manufacturing techniques. Their expertise has improved note accuracy and material durability, making the handpan an instrument appreciated worldwide.
Tools and materials required
To successfully create a melodic instrument, having the right tools and materials is essential. The precision and quality of these elements determine the instrument’s performance and durability.
Essential manufacturing tools
Making a harmonious instrument requires specialized equipment. Essential tools include a pneumatic hammer for shaping, a hacksaw for cutting, and a compass for ensuring accuracy. Sandpaper in grits ranging from 120 to 400 is used to polish the surfaces for a flawless finish.
The choice between a pneumatic rammer and manual methods depends on your level of expertise. Pneumatic tools offer greater precision, while manual methods require more time and patience.
Choosing quality materials
Steel lies at the heart of the manufacturing process. Choosing a high-quality material is crucial to ensuring optimal resonance. Stainless steel, with a thickness of 1 mm for the Ding and 1.5 mm for the Gu, is often preferred for its durability and clear tones.
Nitrided steel, meanwhile, offers better wear resistance but may produce slightly duller sounds. Heat treatment and the metal’s memory are also factors to consider when seeking a pure, stable sound.

| Type of steel | Advantages | Disadvantages |
|---|---|---|
| Stainless | Durability, clear tones | Higher cost |
| Nitrided | Wear resistance | Slightly duller sounds |
For an environmentally friendly approach, certified recycled steel can be used. This reduces the environmental impact while maintaining high sound quality. Finally, avoid common mistakes such as using an unsuitable thickness or unsafe tools, which could jeopardize the project’s success.
Cutting and preparing the components
Creating a melodic instrument begins with a crucial step: cutting the components. This phase requires absolute precision to ensure the instrument’s quality and durability. The choice of techniques and tools plays a decisive role in the final outcome.
Precise cutting techniques
For optimal cutting, use a compass to draw a circle 50 cm in diameter. Then secure the workpiece to a stable workbench to prevent vibration while sawing. A slow, controlled method preserves the material’s thickness and helps prevent mistakes.
Professional techniques such as plasma cutting offer greater precision, but artisanal methods remain accessible to enthusiasts. Laser calibration is another option for ensuring component symmetry, which is essential to resonance.
Preparing the edges
Once cutting is complete, preparing the edges is a key step. Use wet sandpaper to sand the edges and obtain a smooth surface. This procedure improves not only the appearance but also safety during handling.
Thorough quality control is essential. Use calipers to check that the components are uniform. A practical example, such as preparing a Shellopan kit, can serve as a reference for beginners.
Forming the shell: bringing the instrument to life
Forming the shell is a decisive step for the instrument’s sound quality. This phase transforms a simple steel sheet into a resonant structure ready to produce captivating harmonies. Precision and mastery of the forming techniques are essential for achieving an optimal result.
Curvature and symmetry
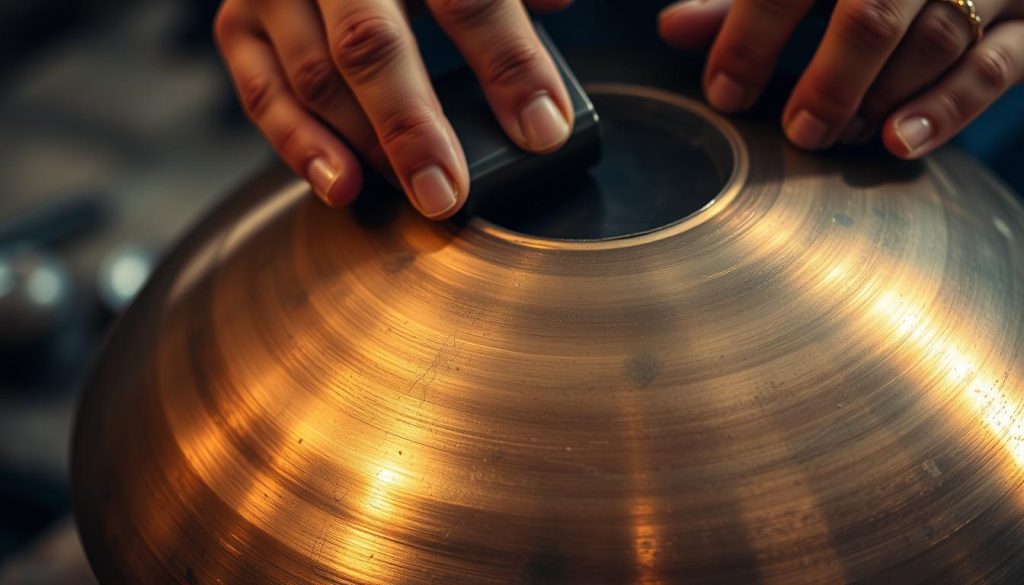
The curvature of the shell must be perfectly symmetrical to ensure uniform resonance. Several methods are used, including metal spinning, hydroforming, and deep drawing. This technique of hammering in a rosette pattern distributes stresses evenly.
Three-dimensional templates are often used to check the shape. They ensure accurate curvature and prevent deformation. For hydroforming, a pressure of 8 to 10 bar is recommended to obtain an optimal result.
Checking uniformity
After forming, it is crucial to check the uniformity of the shell. Laser overlay, such as that used by Numen Instruments, can detect even the slightest irregularities. This step ensures that the instrument will produce pure, harmonious sounds.
To learn more about the manufacturing stages, read our detailed guide to forming the shell.
Drilling the holes precisely
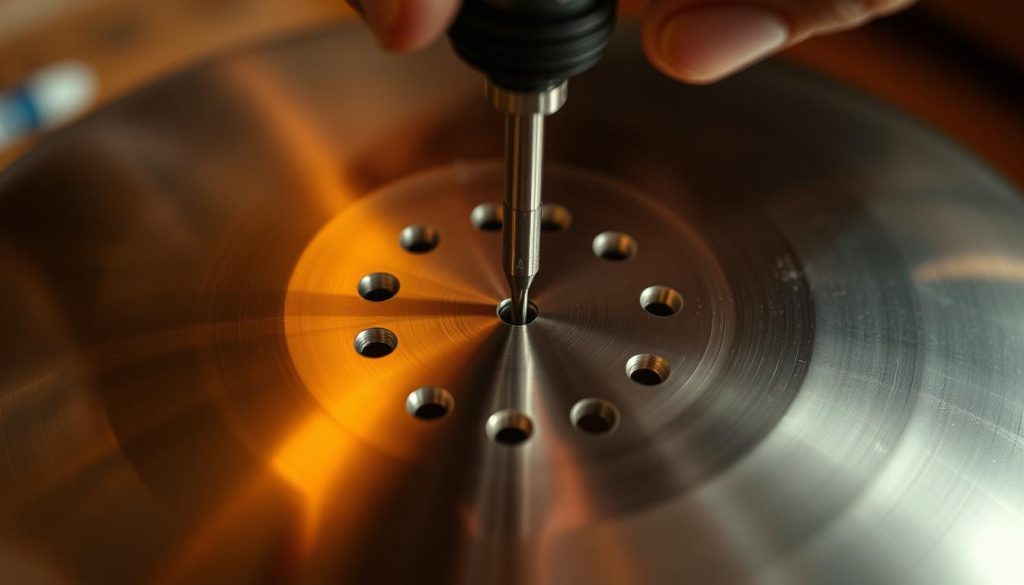
The precision with which the holes are drilled is essential to the instrument’s sound quality. Each hole must be carefully positioned to ensure harmonious resonance and prevent distortion.
Positioning the notes
The positioning of the notes on the shell is a delicate step. Use adjustable tuning grids to calculate intervals such as perfect fifths and minor thirds. This produces a balanced distribution of sounds.
One effective technique is to drill progressively, starting with smaller holes to prevent deformation. Use TiN-coated carbide cutters to achieve clean, precise drilling.
Avoiding common mistakes
Optimal spacing between the holes is crucial for managing interference. Too little space can cause acoustic interference, while too much space impairs resonance.
Here is an example configuration for a 9-note D Kurd scale:
| Note | Position (mm) | Diameter (mm) |
|---|---|---|
| D3 | 50 | 12 |
| A3 | 65 | 10 |
| D4 | 80 | 8 |
“The key to successful drilling lies in patience and meticulous care. Every step must be carried out carefully to ensure an optimal result.”
By following this advice, you will avoid common mistakes and obtain an instrument with pure, harmonious sounds. Precision and rigor are your best allies during this crucial stage.
Tuning your handpan: finding the perfect resonance
Tuning is a key step in revealing the sonic beauty of your instrument. This phase requires patience and precise technique to ensure harmonious resonance. Each note must be carefully adjusted to reach the ideal frequency.
Tuning techniques
Zone tuning is an effective method. It involves working on specific areas, such as the shoulder and tone field, to adjust the harmonics. Use a tuning hammer to refine the sounds and correct imbalances.
Grooving makes it possible to adjust the second and third harmonics, which are essential to a rich sound. The differential-tension technique improves sustain by extending the duration of the notes. For greater stability, work hardening followed by treatment in a stabilization oven is recommended.
Maintaining the tuning
After tuning, maintaining sound quality is crucial. An accelerated aging procedure, such as 48 hours in a climate chamber, stabilizes the notes. Check humidity levels regularly and protect the instrument from UV radiation to preserve its resonance.
By following this advice, you will ensure lasting tuning and an optimal musical experience. Take the necessary time at every stage, and your instrument will reward you with pure, harmonious sounds.
Finishing touches: painting and personalizing your handpan
Personalizing your instrument is the stage where your creativity comes to life. This is where you can transform a functional object into a unique work of art. The choice of materials and techniques plays a key role in the final result.
Choosing the paint
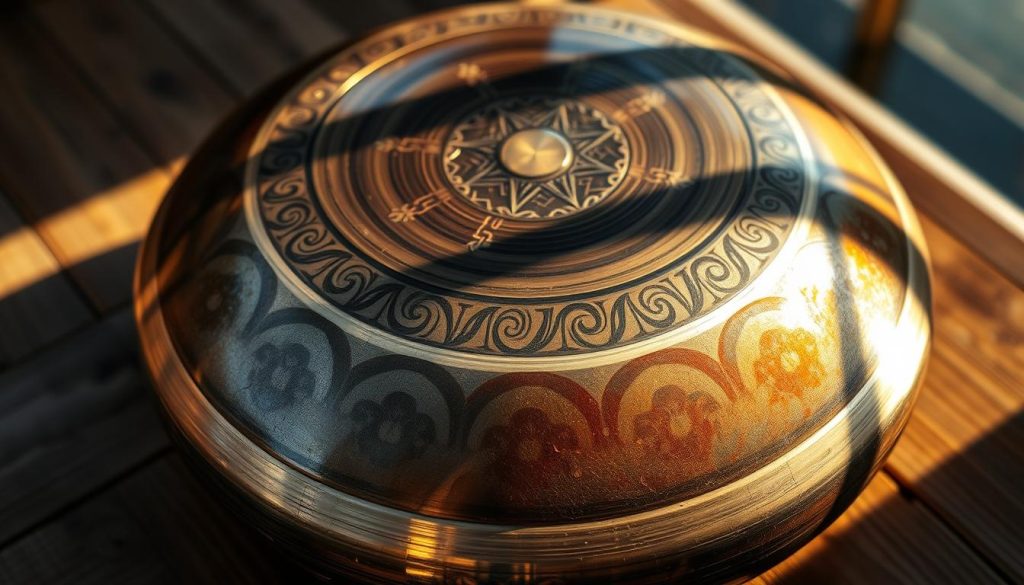
For a durable finish, choose impact-resistant epoxy paints. These paints provide excellent adhesion and protect the instrument from scratches. Powder coating is a more economical option, but it requires specialized equipment.
If you prefer a natural finish, wax can be an environmentally friendly option. It creates a matte appearance and protects the steel without altering its look. For an aged effect, acid patination is ideal and provides a unique, timeless style.
Personalization techniques
Electrochemical engraving can create intricate patterns such as fractals or calligraphy. This method is precise and does not compromise the integrity of the steel. For a luxurious finish, gilding with 24-karat gold leaf adds a touch of elegance.
Nanotechnology can be used to protect against fingerprints. This innovation keeps the instrument clean and shiny even after intensive use. Tribal patterns are also popular and add a cultural dimension to your creation.
Finally, consider the price of the materials and techniques. Investing in quality finishes ensures a durable and attractive result. Your instrument will thus become a unique piece reflecting your creativity and passion.
Conclusion: your handpan, a unique creation
Your unique creation is now within reach. This process has allowed you to develop valuable skills in metalworking, acoustics, and design. Every stage, from forming to tuning, has contributed to a harmonious, personalized result.
Compared with purchasing a professional instrument, this DIY project has an affordable price of between €300 and €800, while providing an enriching experience. To deepen your knowledge, explore Kabeção’s masterclasses or join the Handpan Builders Guild.
Feel free to share your work on dedicated platforms. Your unique creation deserves to be celebrated and may inspire other enthusiasts.